Installing Daytime Running Lights on a Hijet
Up until now I haven't had Daytime Running Lights on my Daihatsu Hijet. If your vehicle was manufactured before January 1st 1990 you don't need them.... It's a 1990 Hijet, so I figured it fell under that category. If I had the original import paperwork I wouldn't have to explain and prove it to the authorities that be.
But... I finally proactively broke down and installed DRLs. And, like most everyone on Earth, I'm cheap... and wanted to do it for free... so I did!
The Hijet (and all minitrucks) are painfully simple. It really reminds me of working on my classic VW Beetle. Two relays and simple to understand!
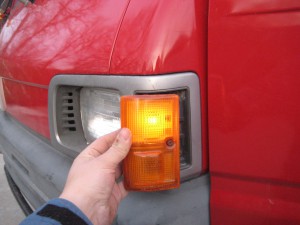
Waiver: I am not responsible for anything that breaks your vehicle, or you. Also, I was thinking about naming this post "how not to install DRLs in a Hijet". I had no manual and made some stupid decisions. That being said... it was easy and works.Ok! The Hijet has two lights in the corner housing: One for signaling, one for being a side marker. I made the side marker light come on when the ignition is on. I used the ACC circuit to do this. To make things painfully easy, I used the wire that goes to the cigarette lighter, and spliced from that.
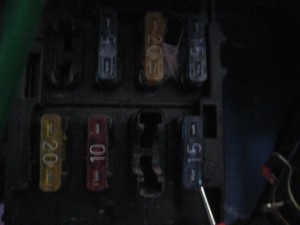
First thing to do... take out the ACC fuse. There is a cover on the fusebox that pops off... squeeze the sides to pop it off (you don't need to undo the screw). The lower right fuse is the one you want to remove.
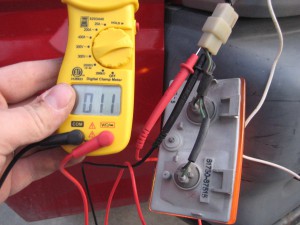
Now, behind the lighter you'll see two wires. Use a multimeter to see which one is 'hot'.
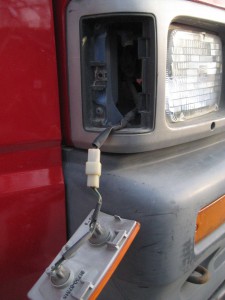
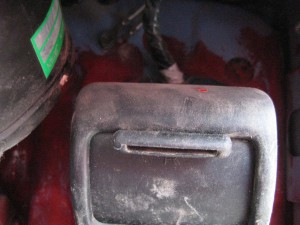
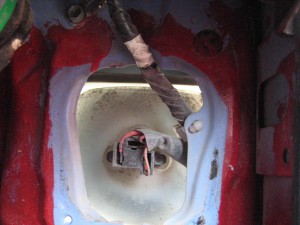
Good. put that to the side for a moment. Remove the amber housing to get to the wires behind it. You also need to remove the vent that is inside the cab behind the headlight to run the wires. Do that now.
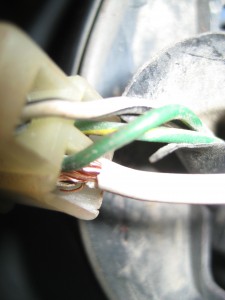
Now, figure out which wire is the hot wire to the marker light, and which is the ground. The easiest way to do this is to turn on the side markers, and shove the lead of your multimeter into the backs of the harness clips. My control (hot) wire was green with a red stripe, and the black was ground.
Now, run a wire from the hot wire on the cigarette lighter to the control wire of the corner marker. I used the existing clips and hacked my wire on there, leaving the original wire.
Make sure everything is wired in tight, put your fuse back in and turn your key!
Now, something happy happened. Since I left the original wire, when I hacked in my new hot wire from the cigarette lighter... both the corner markers come on! Huzzah! That means you only need to do this process to one of your corner markers.
Done!
Funny notes: you can really see the poor job that was done as an aftermarket paint job.... oh well.
Serious note: now that I know this, a better way to do this would be to find the wire that runs to the corner marker by the fusebox. I don't have a wiring diagram, and this was easy.
Rob
Leave a comment